0

Scrapbook Sign!

It’s only been 6 months since my last blog post… not too bad! 😉 I’m starting out with one of my DIY presents that I made a few months ago for my BFF ❤ I was originally going to write a quote on this sign but nothing came to mind so I wrote her blogger name instead. You can change up this concept / look into a million other different variations!

I didn’t think to turn this into a blog post until I was already a few steps in so here’s what I did to get started!

This gift started out as a blank white canvas that I cant remember the measurements of 😉

AC104800l

I then picked out 4 different pieces of scrapbook paper that I thought went pretty together and glued them (using mod podge) to the canvas covering the entire surface. From there I went to the di-cut machine and cut out all the letters I needed in probably the most basic font I could have possibly chosen. That has to do with the fact that I have no patience for the amount of font options that exist!

I used double sided tape and taped down each letter in place. Also excuse my crappy iPhone photography.

2

1

3

Once all the letters were down I painted over the entire sign with a grey paint.

4

At this point, I should have waited for the paint to dry so I could add additional coats for better coverage, but nooooo. I peeled off the letters almost right away…

5

So I had to go back and carefully add additional coats of paint while trying to avoid getting any on the letters. Once the paint did dry, I took Mod Podge again and went over the whole sign to seal in the scrapbook paper and give it a glossier finish. I added ribbon to create a “frame” around this sign and that’s it! Cute, inexpensive gift for anyone for any occasion!

6

7

8

Xoxo – Kara Leigh

0

What’s with me and mason jars this season?

Another mason jar DIY gift..seriously Kara?! I really meant it when I said I’m super broke! Lucky for us, these gifts were so inexpensive to make but still super cute and awesome! Each one, including the 32oz mason jar, came out to be around $3.75! C’mon, I’ve never gotten a $3.75 gift that looked this nice (other than bags of candy)! So that’s why you should make them for your friends and family!

Here’s what you’ll need:

20141217_005843935_iOS

32 oz. Mason jars
Ingredients
  • ¾ cup non-fat dry milk powder
  • ¾ cup cocoa powder
  • ¾ cup powdered sugar
  • mini chocolate chips for garnish
  • crushed candy canes for garnish
  • mini marshmallows for garnish

20141217_005913896_iOS

20141217_010801000_iOS

20141217_005903345_iOS

So the first one I tried to make following the exact measurements and then decided that was taking way to long. LOL, I’m not a very good baker I might add. So anyways, I ended up just evenly layering the powdered milk, then the cocoa powder, and the powdered sugar.

20141217_012417522_iOS

Next is the garnishes! I just grabbed a handful of mini chocolate chips and just made sure there was enough to make a visually appealing layer of chocolate. For my candy canes, I opened a few and hammered them inside of a Ziploc bag to make little pieces for my next layer. Finally was marshmallows and then your done! Of course there’s a million cute ways you can dress these up and decorate them!

20141217_013423509_iOS

20141217_025914512_iOS - Copy

20141217_025904250_iOS

20141217_025853050_iOS

 I included a tag on my jars that listed the ingredients and the directions on how to drink this yummy stuff! When ready to use, you’ll have to mix the bottom three layers together. Add 1 cup of hot water to 1/2 cup of your hot chocolate mix and stir! Then you can put the cute garnishes to feel fancy since it’s Christmas!
Click here for free printable tags to make your life a whole lot easier 🙂

Xoxo – Kara Leigh

0

DIY Holiday Time!

Every year, as I stress about the rush and excitement of Christmas I always have that annoying reminder, oh yea, I’m broke. LOL! (kinda) This year I’ve decided, why not make everyone’s gifts?! I figured it would be cute and personalized and save me money! Over this month of December, I’ll have tons of fun DIY gift ideas that I can’t wait to share with you! Starting with this homemade sugar scrub! This gift was so simple and so inexpensive to make. One of my favorite parts of this is the unlimited amount of presentation options you can play with for these (or any other gift you’re giving inside of a glass jar)! OK, so here’s what you’ll need!

20141201_215819081_iOS

2 cups of granulated sugar

A few drops of Peppermint Extract

A few drops of Lemon Extract

(Really a few drops of any scented extract you feel like)

Clear glass jars with a lid. I used 8 oz quilted jelly jars.

1/3 cup of Almond Oil

Food Coloring. (If you really want to be fancy, you can skip the food coloring and use juice from a highly colored fruit like raspberries!)

20141201_220130655_iOS

20141201_220535209_iOS

These measurements were enough to fill up two of my 8 oz jars.

20141201_224712597_iOS

20141201_224740926_iOS

You can also split your mixture in half once everything is mixed together except the food coloring. Leave one half white, and color the other half, or do two separate colors for cool layering options 🙂

20141201_224804380_iOS

Come back soon to see how I decorate and wrap these cute guys up!

PS- If any of my friends are reading this, sorry I just ruined your Christmas gift surprise 😉 LOL

Xoxo- Kara Leigh

0

An Entire Year Later…

I can’t even begin to wrap my head around the fact that it’s been a whole year. Regardless of the cancer, when I looked at my mom, all I ever saw was bright, beautiful, cheerful, and happy. That’s why it was so easy to come up with the most perfect, last minute, DIY centerpieces for her memorial service.

This inexpensive idea can be recreated for so many other events just by changing up the color scheme!

Here’s what you’ll need:
pACE3-957282_alternate1_enh-z8s0723676_sc7
Mason Jars                                          Any pretty colored sand you like!

a2fbc53e-d37f-45f2-b7c3-c6a80d097ff13-3799
Bamboo skewers (I didn’t even know ones with a flat end existed! So i didn’t use these but I totally recommend that you do! Seems much easier.)

Colorful cupcake liners! You can mix and match different sizes, colors, patterns, whatever. Make it look awesome!
button-home-button-stickersFloral-Decorative-Sticks-Branches-Ideas
Bright colored buttons!

Decorative floral branch sticks. (If you can’t find these in bright colors you can easily spray paint them!)

Hot glue gun

Thick foam paper (craft store)


It’s really simple,

I cut out small squares of foam paper, poked the bamboo skewer through it just enough to where it would stand straight on its own. You’ll need to hot glue three of those to the inside bottom of your mason jar. Once those are secured and in place, you can pour in your colorful sand which will help reinforce the bamboo sticks even more from leaning or falling over. Flaten out two cupcake liners and glue them to one another around the bamboo stick. From there you can layer with smaller cupcake liners to give it a fuller look. I hot glued a button in the middle of each one and stuck in the pretty colored floral branches to finish it off! Anddddd you’re done! It’s that easy!


20130725_043559000_iOS

20130725_043817000_iOS

970950_4394991011389_1563031744_n


XOXO – Kara Leigh


1

Donald Trump’s Mansion!

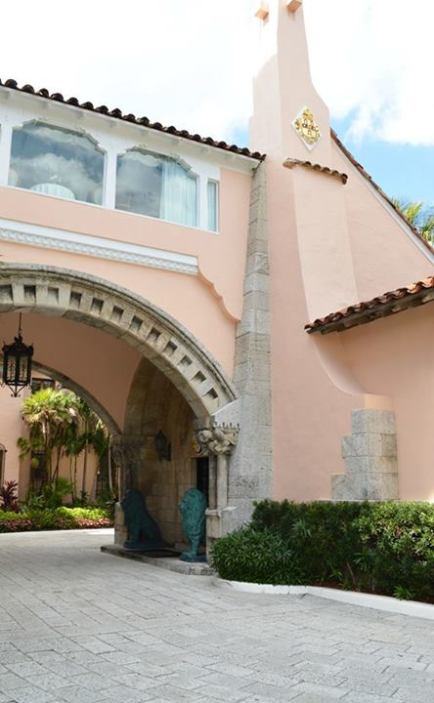
I’m going a bit backwards by writing out this blog post, but it’s awesome enough to blog about! A few months ago, I had the honor of being able to design a wedding taking place at Mar-A-Lago, in West Palm Beach, FL. At the time I didn’t think it was a big deal, mostly because I had no idea what that venue even was. It wasn’t until the actual day of the wedding did I even see what this place looked like.

Image

ImageImage

Image


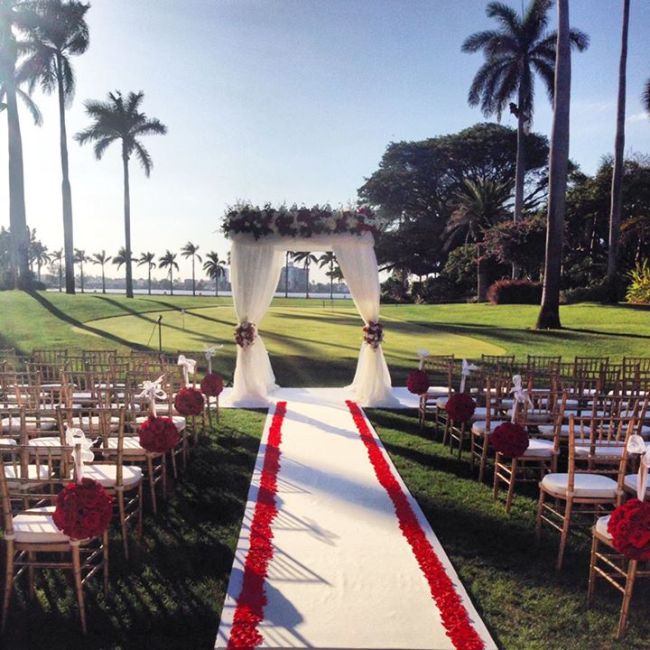
So anyways, as usual, I wanted to hand make as many things as I could for this wedding, starting with the aisle runner! I immediately regretted this decision as soon as I began….

I sat in my living room for hours, at my job for hours, individually hot gluing silk rose petals to the sides of a 50 foot long aisle runner.


Image


Then I decided, I wanted floating flower arrangements in the pool, cause why not? Red carnations seemed to be the fluffiest of my floral options at the moment, so that’s what I went with.

Image


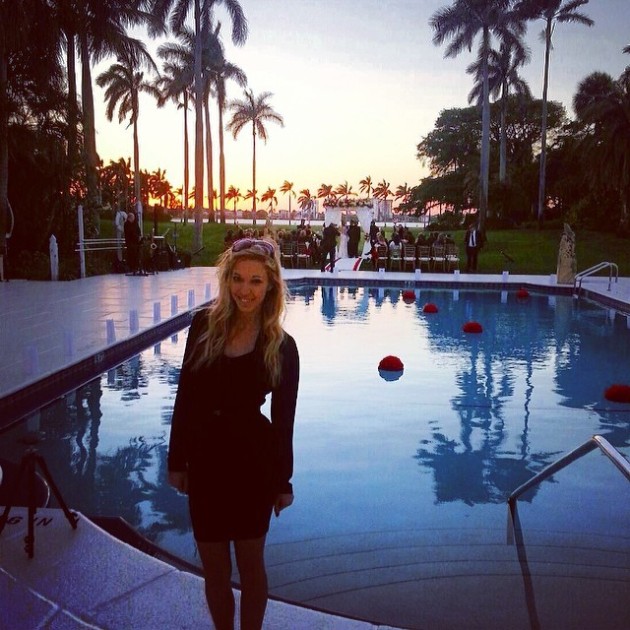
These weren’t as annoying to make as they were messy! I had Styrofoam all over my living room floor after sticking ALOT of red carnation stems into a half 10″ foam ball. They were totally worth it at the end. One of my favorite parts at a wedding so far (I’m still to new at this), is when I see the wedding guest notice the things I’ve made, and compliment them! Following that, I usually take instagram photos as proof…


Image

Image


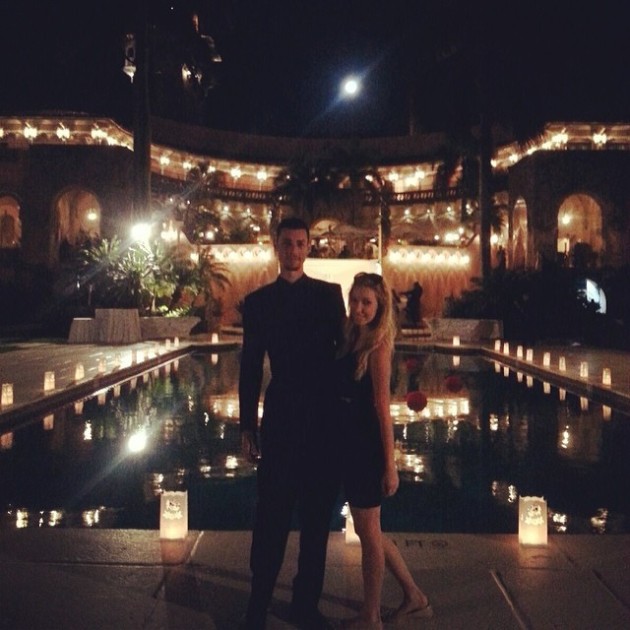
Lol, just kidding, kind of. But seriously, while I was watching this wedding going on, I couldn’t help but to think how proud of myself I was for being there, at that historical place at that very moment, with the most beautiful sunset above me! These are the moment where I strongly believe in guardian angels! ❤

Unfortunately for me, the majorty of the times that I bring my camera with me to events, I’m usually too busy to be able to stop for even a second and take photos. This wedding in particular, I haven’t gotten photos back from the photographer and I’m not sure I ever will, so to hold me over, I have this lame one from my cell phone!


Image


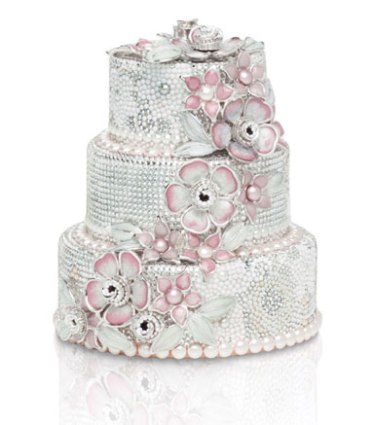
I usually wouldn’t do this in my blogs but I have to share! During this event, I was able to meet one of the coolest cake designers ever! Elite Cake Creations, recreated a purse, designed by the ever so badass Judith Leiber, that our Bride had for her wedding day!

Image

Image


XOXO – Kara Leigh


0

Lagunitas Beer Circus – Chicago

Image

Basically, that’s how this project started.


Image

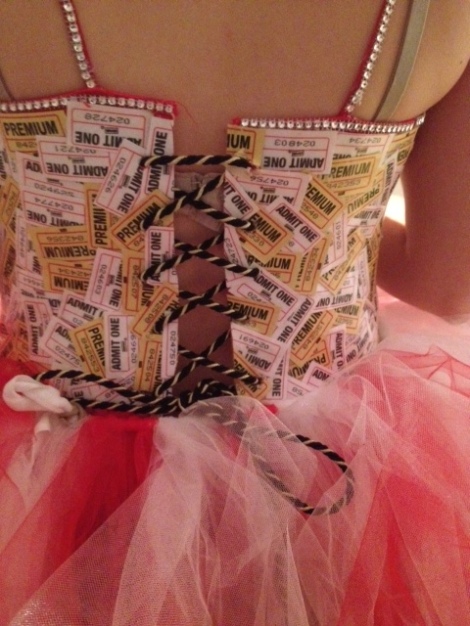
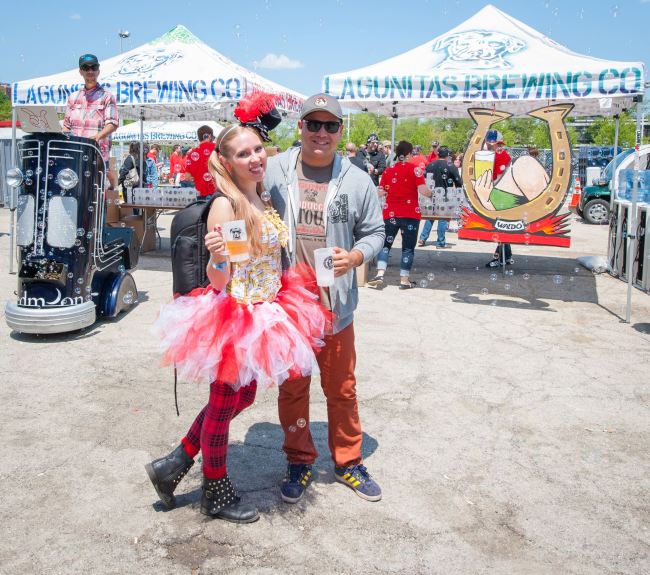
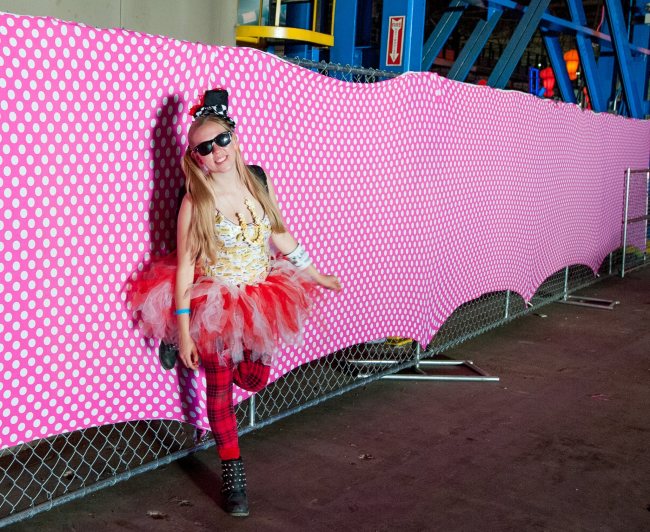
First I started with the tutu, only because out of all the things I was about to attempt, this one seemed the most likely for me to not mess up on.  Going for the idea that we were resembling an old school pop corn box, I cut red and white tulle into about  28″ strips and tied them in half over a band of stretch material until we finally had a full tutu!


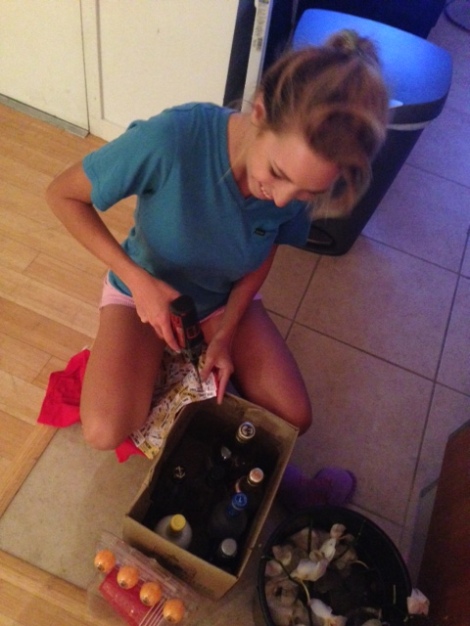
Then was the top -.- I seriously had no idea how to even start this thing but somehow, someway, this is what I came up with!

Image

Julia and I decided on yellow and white, hoping that it would somehow look like popcorn. LOL, not sure what was going through our heads at the time, but wither way, it worked.


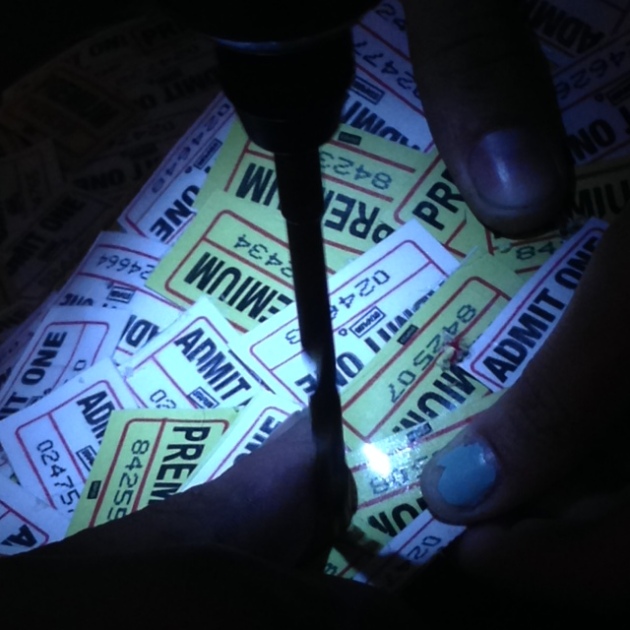
After laminating, cutting, hot gluing, and getting burned, we had a top that I was very surprisingly, very happy with! The fun part was coming up with an easy way for Julia to be able to get this thing on and off. (It was literally, as stiff as a cardboard shirt 😛 LOLLLL )


Image

Image

Image

Image

Finished off with a handmade popcorn glitter necklace and viola the most badass looking photographer at beer circus!

Image

Image

Image

Image


XOXO- Kara Leigh


0

Gay Pride

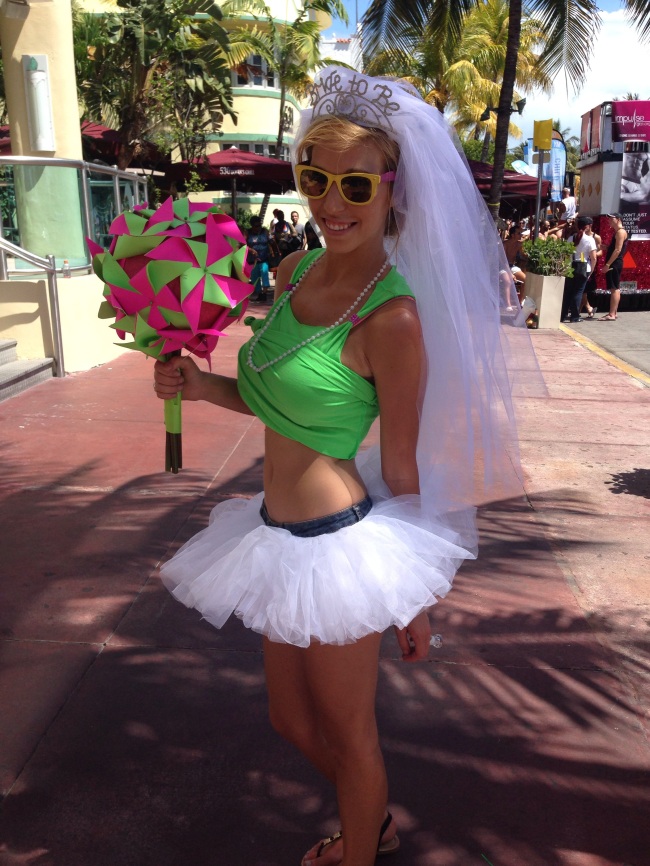
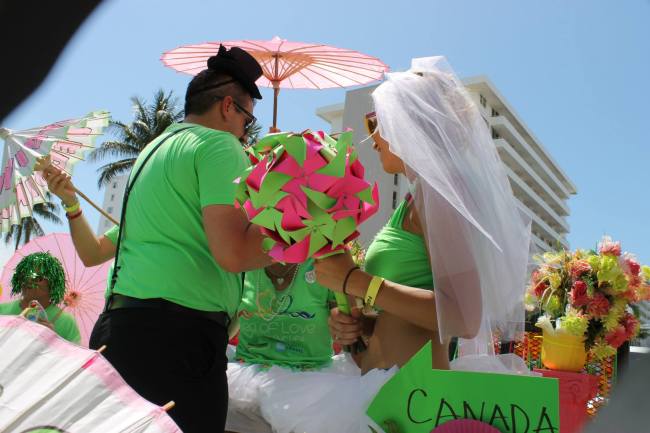
So this project started with me being asked to be a lesbian bride on a float in the Gay Pride Parade at South Beach. Obviously I said yes!


Image

I wanted something super whimsical and fun as my bridal bouquet so what sums that up better than neon pinwheels!?

Image

Image


Image


Image


– XOXO KaraLeigh

2

“Never tell me the odds”

Last minute DIY projects, especially when they mean a lot to me always end up being my favorite!

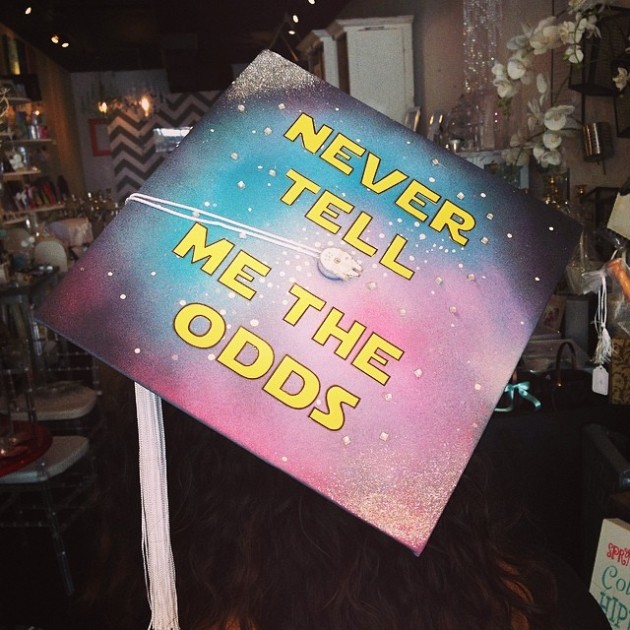
This one started off with my best friend Vanessa, being her usual procrastinator self and picked up her graduation cap and gown the day before she graduates. Buttttt, that didn’t stop us! Vanessa channeled her inner Star Wars (If you know her this is normal) and came up with this sick idea! Soooo I made it come to life! ❤

Image

I started off not having any idea what I was doing, the same way most of my DIY projects begin. Luckily my friends and clients have this much faith in me 😉

Image

ImageImage

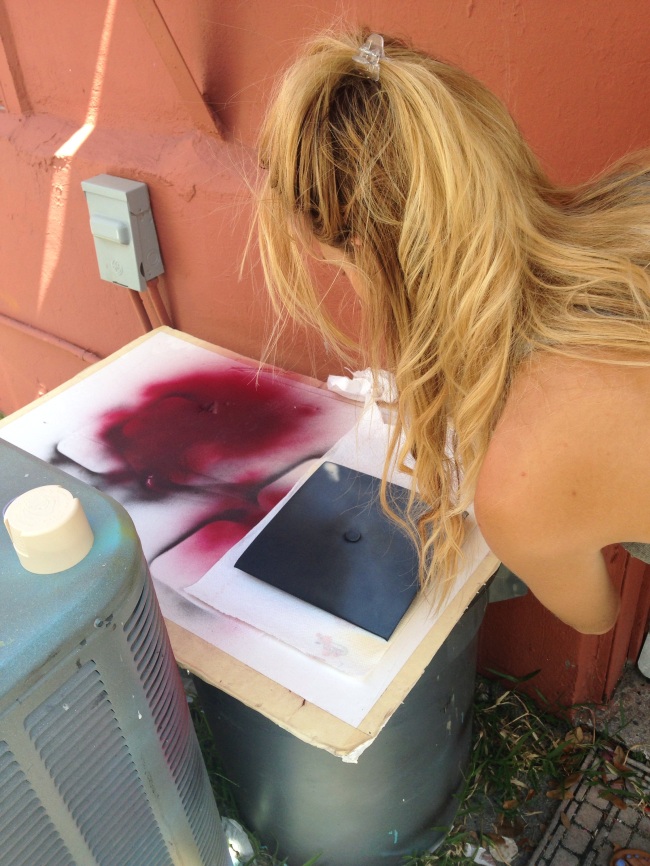
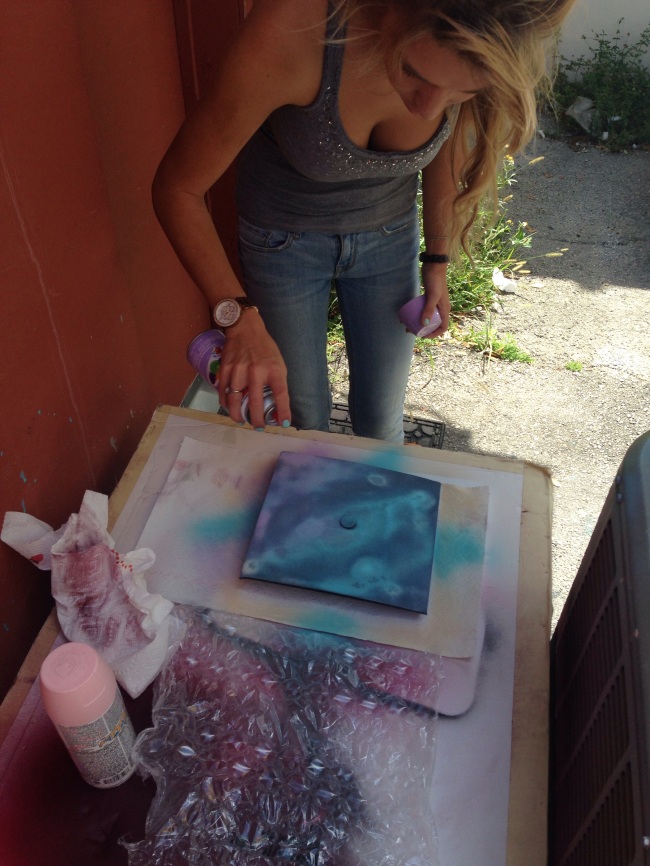
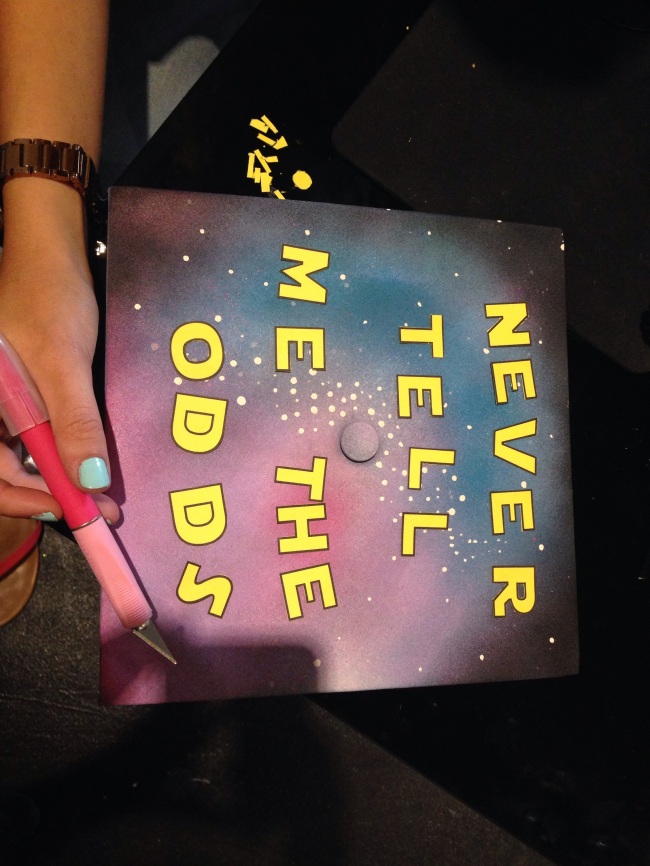
Thankfully I had the perfect spray paint colors (which if you know me is seriously my solution to EVERYTHING) to make the cutest galaxy as our back-round.

ImageImage

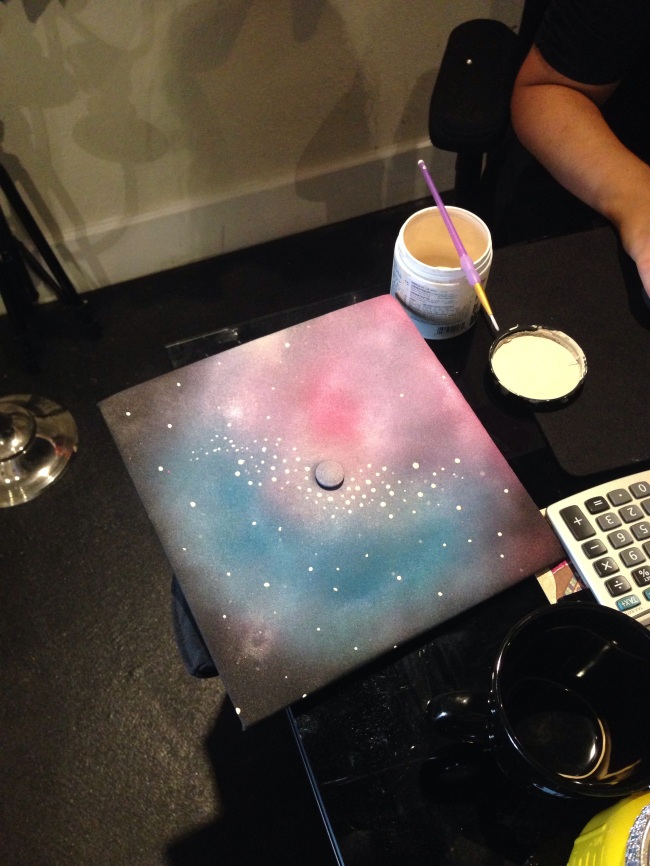
To finish it off, I added white dots to resemble stars, using the back of a paintbrush, but you could use anything with a small enough rounded end. I then added individual silver “bling rhinestones” in some of the stars to make it sparkle, which is a must in all of my projects. From there we added the perfect Han Solo quote in star wars font of course, and a mini millennium falcon in the middle , and BAM! The most awesomest graduation cap I’ve ever seen!

Image


XOXO – KaraLeigh
5

For Sandy Toes

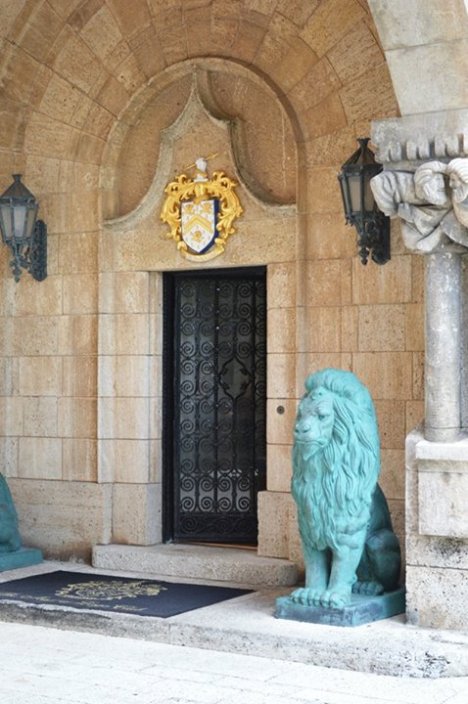
In early April I was lucky enough to design the most beautiful beach wedding at The Sea Gate Beach Club in Del Ray, FL. As per usual, anything that I can make instead of purchase is the route I’m sticking to.

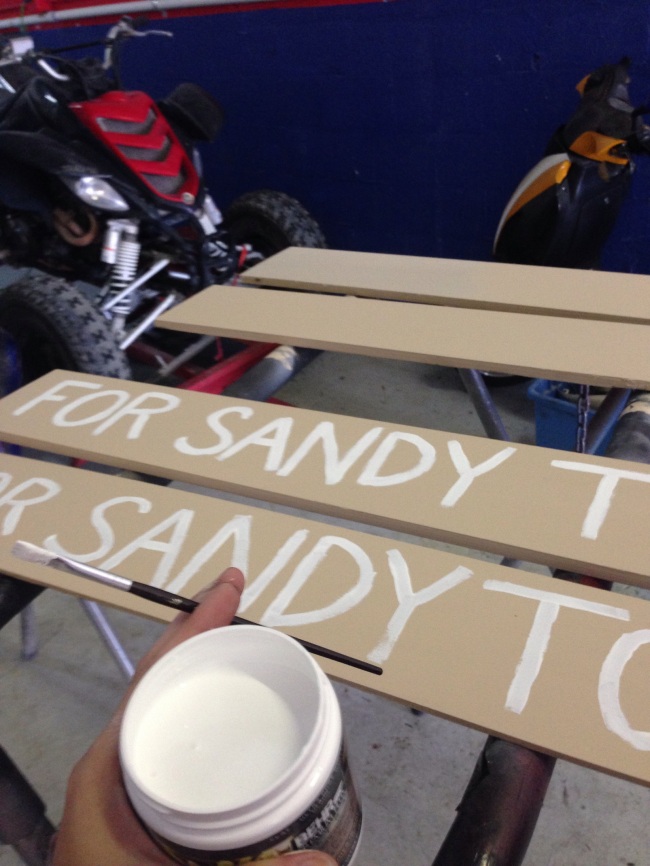
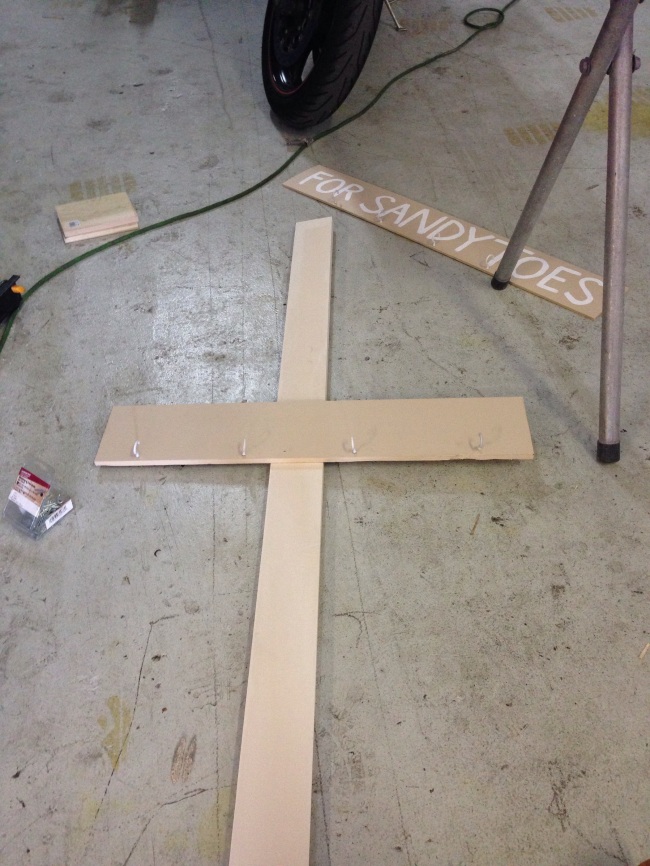
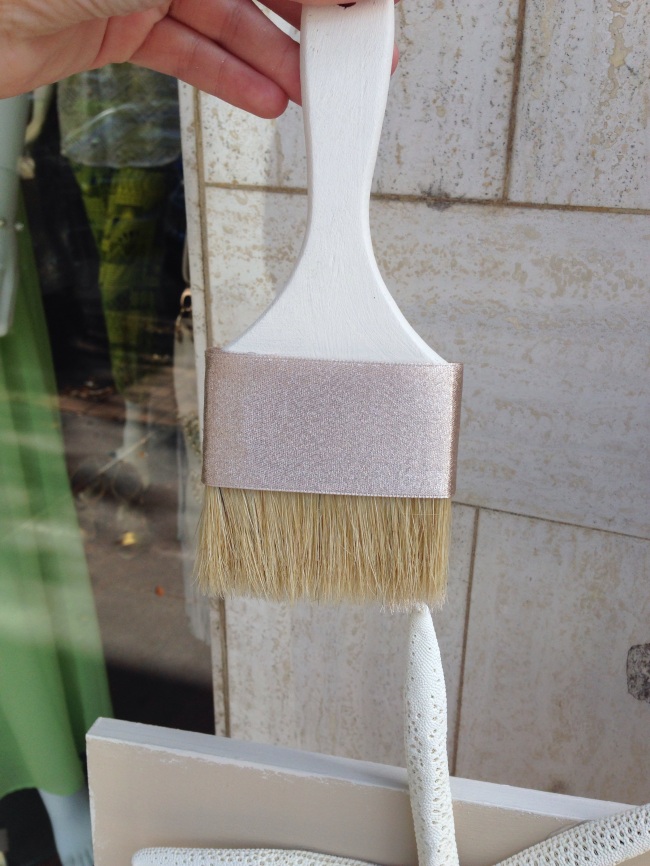
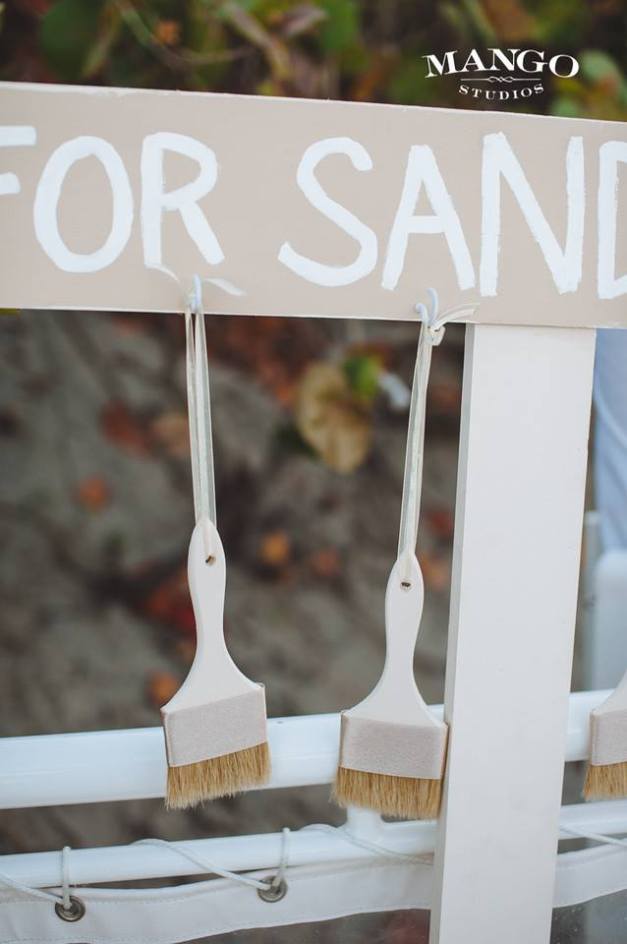
Because this was a beach ceremony, we dealt with the concern of sand getting in everyone’s shoes and them being uncomfortable the rest of the night. Problem solved! Hand made DIY Sandy Toes Station ❤


Image

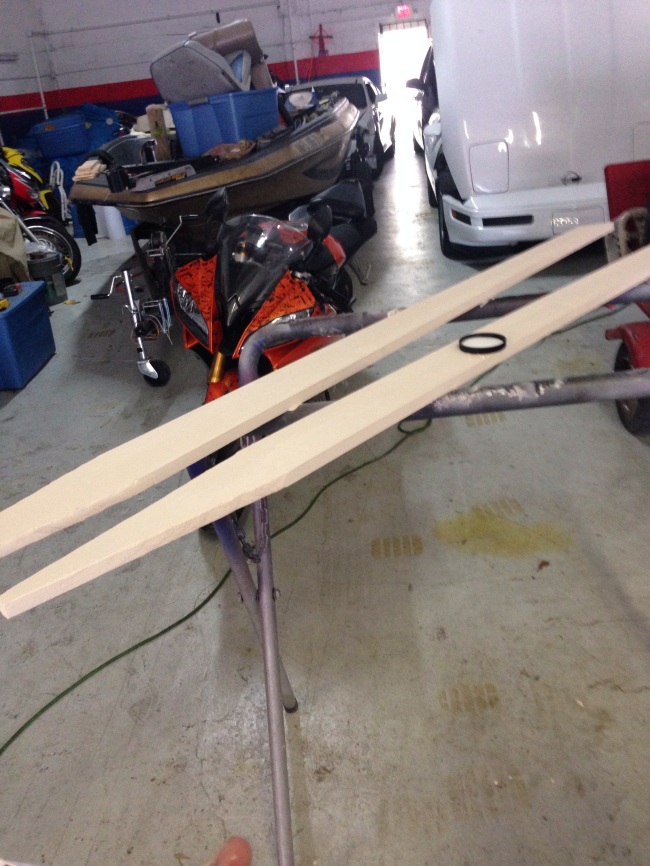
Welcome to my other workshop! (aka- my boyfriends mechanic/body shop Garage39!) This is where I do any major projects that require power tools and other messy, loud things, and most importantlyyyyy, his knowledge lol.

ImageImage


Image

Photos taken by my new friends at Mango Studios!

ImageImage